Launching a WordPress® site doesn’t have to be complicated. If your hosting provider offers cPanel, you already have one of the easiest ways to set up and manage your website. Whether you’re starting a blog, business site, or online store, cPanel provides the tools you need to install, configure, and manage WordPress in just a few steps.
In this guide, we’ll walk you through the process of deploying a WordPress site using cPanel.
- Why Use cPanel for WordPress Deployment?
- cPanel is one of the most widely used hosting control panels. It offers:
- One–click WordPress installation with tools like Softaculous Apps Installer.
- Easy access to databases, file manager, and email accounts.
- Security features such as SSL installation and backups.
- User-friendly interface, even if you’re not a developer.
Step-by-Step Guide to Deploying WordPress in cPanel
1. Log in to Your cPanel
- Visit your hosting provider’s login page.
- Enter your username and password to access cPanel.
- Look for the cPanel dashboard—usually organized into sections like Databases, Files, Software, and Security.
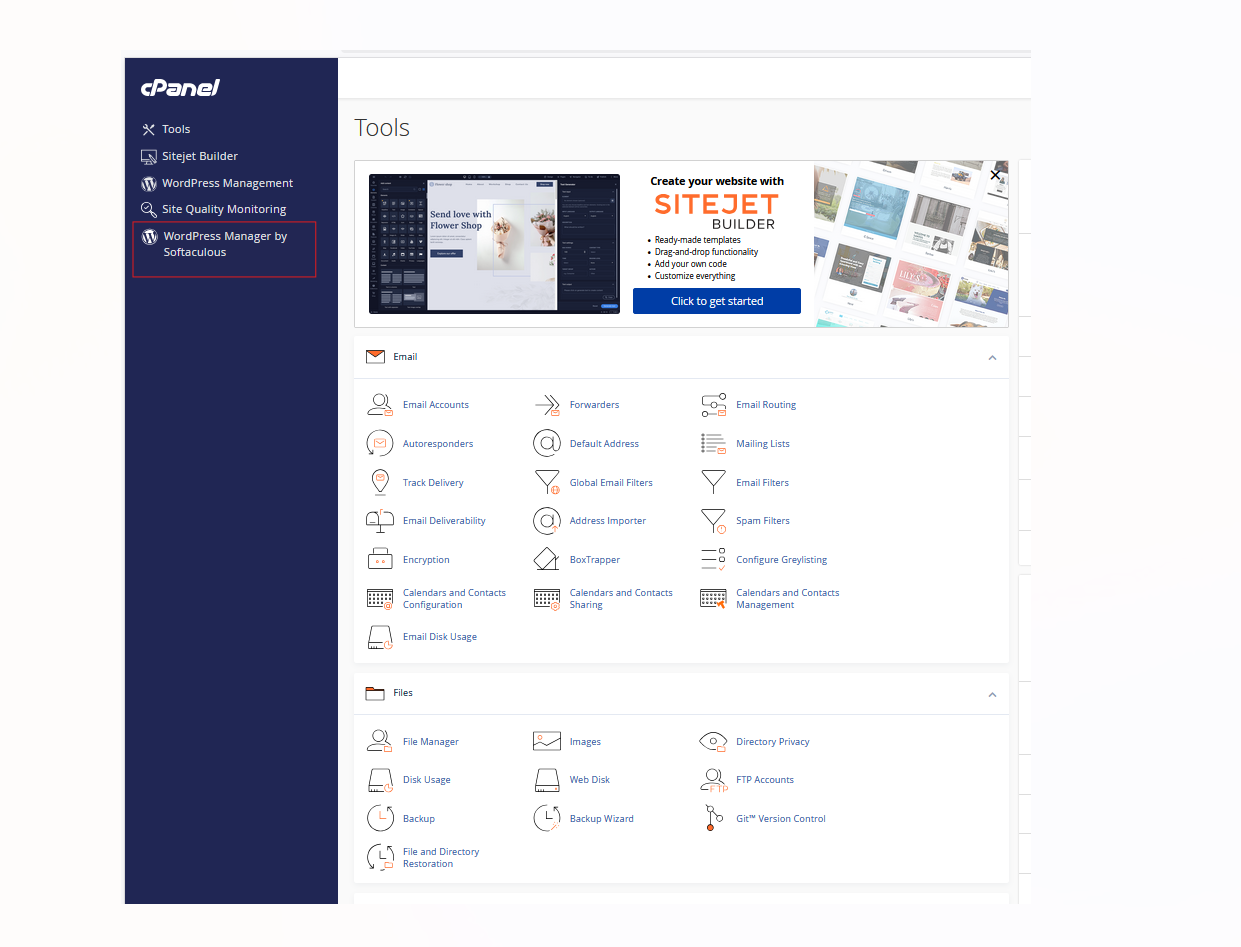
2. Locate the WordPress Installer
Most cPanel setups include Softaculous Apps Installer or a similar auto-installer tool.
- Find Softaculous under the Software section.Click on WordPress to begin the installation process.
3. Configure Your WordPress Installation
You’ll need to provide some details:
- Choose Protocol & Domain: Select
https://if you already have an SSL certificate. Choose the domain where you want WordPress installed. - Site Settings: Add your site title and description (you can update this later in WordPress).
- Admin Account: Create a strong username, password, and admin email address.
- Select Language & Plugins: Choose your preferred language and optional plugins (e.g., contact form, caching).
4. Select Database and Advanced Options (Optional)
If you want to manage database settings:
- Expand the Advanced Options tab.
- Here, you can set your own database name, table prefix, and manage backup settings.
- Leave it on default if you’re unsure—Softaculous will handle it.
5. Install WordPress
- Click Install to start the process.
- Within a few minutes, WordPress will be installed on your domain.
- You’ll see a success message with links to:
- Your WordPress site (e.g.,
yourdomain.com)Your WordPress Admin Dashboard (e.g.,yourdomain.com/wp-admin)
6. Access Your WordPress Dashboard
- Go to
yourdomain.com/wp-admin. - Enter the admin username and password you created.
- From here, you can:
- Choose a theme
- Install plugins
- Add pages and blog posts
- Customize your website
- Add pages and blog posts